When both polygons are selected, use your Align options in the Control Panel to center vertically and horizontally. Refer to Figure 8-36.
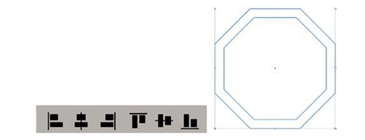
Figure 8-36. Use the Align options in the Control panel to align the hexagons horizontally and vertically centered
As you learned in Layer basics, as you draw in complicated areas, you may want to move some parts of the shape to other layers and temporarily hide and show layers so that you can focus on one section at a time. Once you have drawn all the parts that you think you need from your “mock-up” layer, you can turn that layer off and begin to color some areas. Refer to Figure 8-37.

Figure 8-37. Unlock the drawing layers and hide the mock-up layer in the Layers panel. Use the Control panel and Selection tool to select paths and color parts of the bulb in white and gray colors for now so that you can hide parts of your images or lower paths
I usually will, with my Selection tool, select paths and give them a white or gray fill and a black stroke. I can do this using my Control panel. At this point, exact colors do not matter. Refer to Figure 8-38.
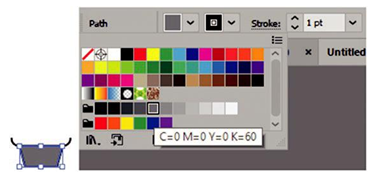
Figure 8-38. Use the Control panel swatches to color parts of the design
I may then at this point continue to reorder my sublayers and layers and then Shift+Click select, for example, the bulb ellipse and the altered rectangular bulb base, and then combine them using the Pathfinder panel by just clicking the Unite icon key. Refer to Figure 8-39 and Figure 8-40.
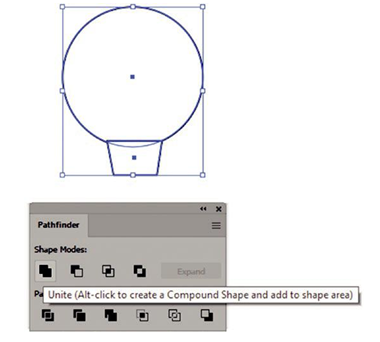
Figure 8-39. When two paths are selected, use the Pathfinder panel to unite the shapes
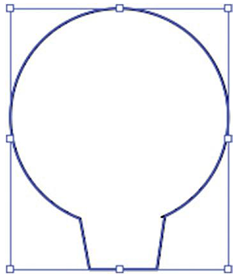
Figure 8-40. The result of the two united paths as one path
In this case, the result was permanent. You may in some cases want to, before clicking Unite in the Pathfinder, Alt/Option+Drag copies of your selected shapes off to the side in case you need to reuse them later. Refer to Figure 8-41.
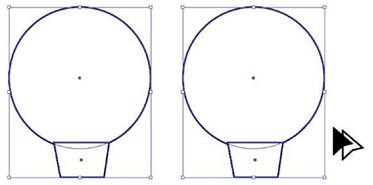
Figure 8-41. Create copies using Alt/Option+Drag with the Selection tool if you don’t want to destroy your original shape
For your own project, you may wish to unite other shapes or use other Pathfinder options which you can review from earlier in Chapter 7. See section “Combining Shapes with the Pathfinder Panel.”
However, as mentioned, the mock-up is only a starting point for your own design. Continue to use Illustrator to refine or remove parts of the light bulb to simplify it. In my example, I decided that the light source did not look that great as a star, but I could use some rounded rectangles to create the rays, and I used the star as my rough placement guide with a fill and stroke both set to none. You can always select the star afterward with the Selection tool and press Backspace/Delete to remove it from the design. Refer to Figure 8-42.
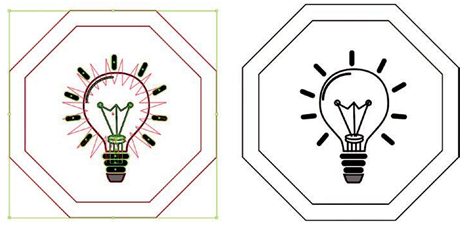
Figure 8-42. Use the star path as your guide for placing other shapes or modifying and simplifying your design
I also modified and simplified other parts of my bulb such as the filament, stem, and wires, so that they were less busy, and tapering the cap screw and tapering and rounding the electrical foot contact. The actual base contact cap stem itself is hidden behind, or it can be removed. For the glass bulb, I adjusted the path using the Direct Selection tool and tried to smooth out my corner points using the Control panel. However, doing so may not make both sides as symmetrical as you need them to be, and you may need to adjust the handles of the anchor points on the path further on to suit your needs. You may also need to add points if required. Refer to Figure 8-43.
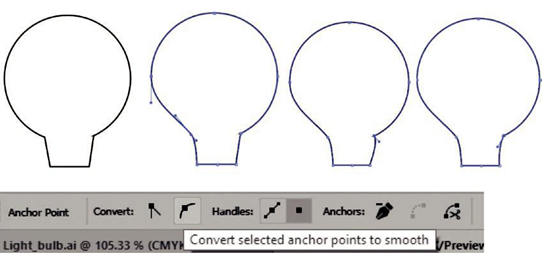
Figure 8-43. Use your Control panel to make modifications to your bulb shape
In your case, you may need to select and remove some points and even delete half the shape using the Direct Selection tool. Shift+Click select points and then press Backspace/Delete. Then with the half-open path selected with the Selection tool, use Object ➤ Transform ➤ Reflect—in this case, the axis is vertical—and make a copy rather than clicking OK. Now Shift+Drag and align the new path with the old, and Shift+Click to select both so you can merge the two sides together using the Pathfinder Unite to get a more perfect bulb. Refer to Figure 8-44.

Figure 8-44. Use the Reflect dialog box to reflect and open path and make a copy of the path and then unite the two paths using the Pathfinder panel