Brushes and the Brushes panel are all helpful tools that can be used to add detail or edit a shape or path further. There are three tools that you can use to add painterly-like details along with its related panel. They are the Paintbrush tool (B), Blob Brush tool (Shift+B), and Eraser tool (Shift+E). Note that though not part of the discussion in this book, that the Scissors tool (C) and Knife tool can also be used to cut parts of shapes as well. Refer to Figure 8-165.
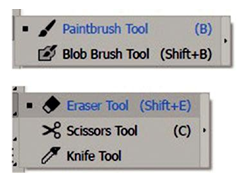
Figure 8-165. Paintbrush, Blob Brush, and Eraser tools can be used to add or edit a path
Paintbrush Tool (B) and Brushes Panel
This tool is used for adding painterly effects to strokes, along with your Brushes panel in the five main brush types, and can also be used with the Stroke panel and your Control panel for making a thicker or thinner path. Refer to Figure 8-166.
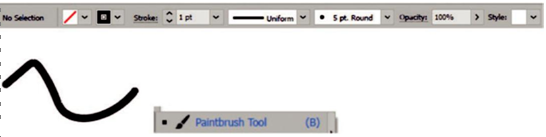
Figure 8-166. Use the Control panel and the Paintbrush Tool to paint thicker strokes
To access paintbrush options, double-click the Paintbrush tool in the Toolbars panel, and you can set settings such as fidelity (accurate to smooth); by default, it is set in the center. Options include Fill new brush strokes, Keep Selected, and Edit Selected Paths when you are within a set number of pixels (2–20); by default, it is set to 12. Refer to Figure 8-167.
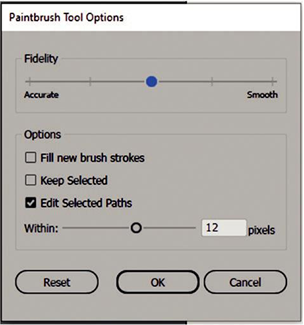
Figure 8-167. Paintbrush Tool Options dialog box
To increase and decrease brush size outside the dialog box, use your left bracket ([) to decrease and right bracket (]) to increase. This will also adjust the path that you are painting if still selected. Note that this does not increase the actual stroke weight setting, only the brush definition size, but it is not saved. However, afterward, selecting the stroke and lowering the stroke weight can decrease the appearance of the brush definition. You can also change your variable width profile from the Control panel; the default is uniform. Refer to Figure 8-168.
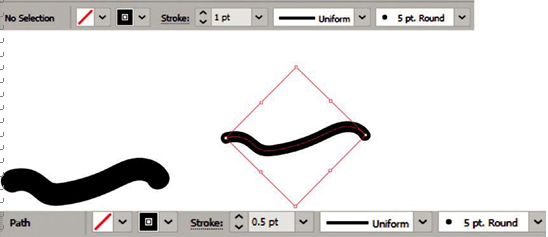
Figure 8-168. Use the Control panel to alter the stroke weight of the selected path
The Brushes panel, as mentioned earlier, can be used to set other types of brushes to paint with.
While we will not be going into a lot of detail, the five main brush types that you can use are
•\ Calligraphic: Which are typically used for thin and thick lines. The basic brush is the default.
•\ Scatter: For scattering shapes added to the brush.
•\ Art: Which appears like a charcoal pencil used to make parts of a graphic appear as if they were hand drawn.
•\ Bristle: Which appears like someone used a paintbrush, and these can often have opacity effects.
•\ Pattern: Which adds a pattern to the stroke that was created by Adobe or the user. Refer to Figure 8-169.
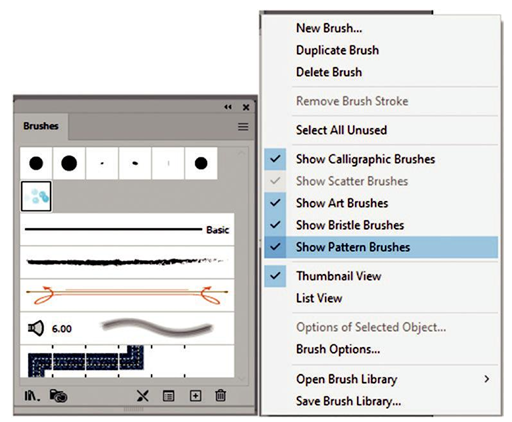
Figure 8-169. The Brushes panel and its menu
You can change a path’s color and brush definition and opacity (0%–100%) while the path is selected using the Control panel. Refer to Figure 8-170.
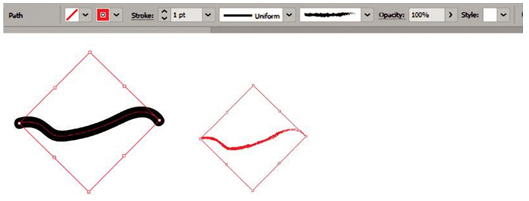
Figure 8-170. Use the Control panel to change the strokes color and brush definition
You can access more brushes from the panel’s library or create your own. For more information on brushes, visit the following page as each type of brush has its own unique creation dialog box and settings: