In some situations, you may want to add more placeholder text to a rectangle or custom shape that is already on the artboard that you have expanded, such as a column. You can use the Area Type tool and then Type ➤ Fill with placeholder text. This will guide you so that you know how much more text you can add to this area. Later with your Type tool, you can highlight this text and type your new information. Refer to Figure 8-137.
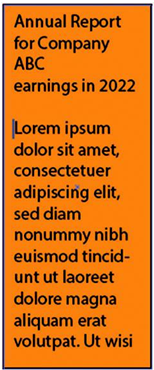
Figure 8-137. Add placeholder text to review how much space you have available in your type area for your own text
Type on a Path Tool and Vertical Type on a Path Tool
These options allow you to type on a closed or open path. Refer to Figure 8-138.
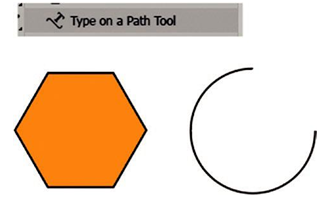
Figure 8-138. Use the Type on a Path Tool to add type to open and closed paths
You can use the option by clicking the path of a shape, and it will make the path invisible and add some default placeholder highlighted text. You can type new text to replace it. Refer to Figure 8-139.
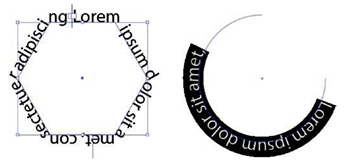
Figure 8-139. Click the path, and the placeholder text is added to the path
Using the Selection tool to move the whole path or Direct Selection and the center bracket, you can move the text inside or outside of the shape. Refer to Figure 8-140.
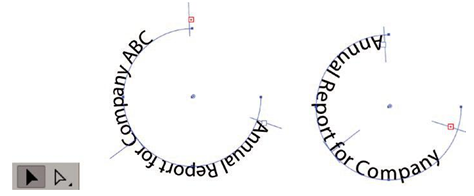
Figure 8-140. Use the Selection Tool or Direct Selection tool when you need to edit the path or move the text on the path and pull on various brackets (starting, center, ending) to adjust placement
The starting and ending brackets can also assist if you notice that the text is not fitting, and you need to slide it on the path. When you see the red plus symbol, you can try to expand the path, or if it is still not fitting, you may need to use the Control panel to make the highlighted text smaller. Use the Type on a Path Tool to highlight text. If you find that all the text that is hidden is not highlighted, then while partially highlighted, use Ctrl/CMD+A to select all the text before adjusting the font size using the Control panel. We will look at the control shortly in regard to font size. Refer to Figure 8-141.
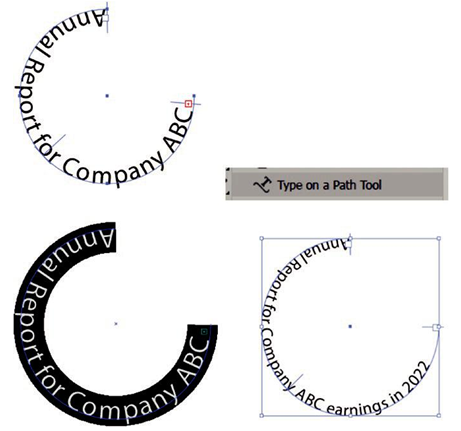
Figure 8-141. Highlight the text with your Type on a Path Tool that you want to make smaller when it filles and area
You may need to use your Selection tool to do further adjustments with the center bracket and rotate the path if the text is still not in the right location. However, you can alter the text on the path further under and Type ➤ Type on a Path ➤ Type on a Path Options dialog box for various type effects that stretch, warp the text, adjust path alignment from the default baseline, as well as spacing, and flip the path. The current effect setting that I am using is rainbow. But you may prefer skew, 3D ribbon, stair step, or gravity. Enable Preview to see updated changes. Refer to Figure 8-142.
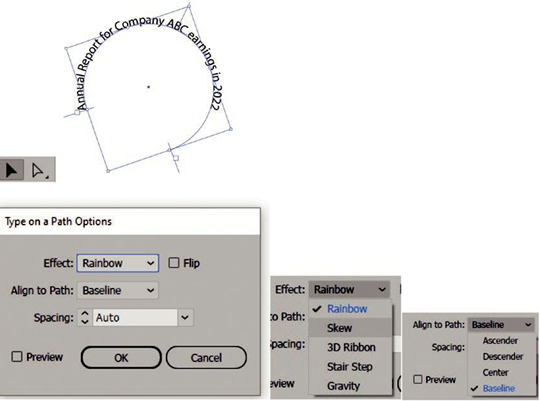
Figure 8-142. Rotate type and path using Selection tool or use the Type on a Path dialog box
More details can be found on this page:
https://helpx.adobe.com/illustrator/using/creating-type-path.html
The same settings can be used for the Vertical Type on a Path Tool. But the text will now flow around the edge, half in and out of the path. Due to the new orientation, the text may not fit the path, and you will need to adjust your brackets or font size to accommodate. Refer to the previous link for more details on this. Refer to Figure 8-143.
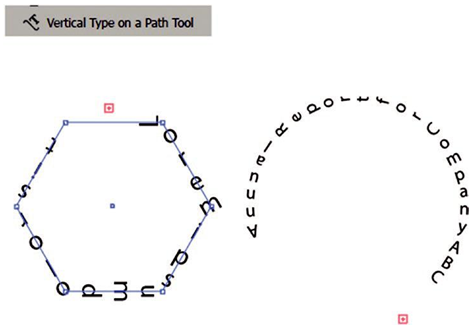
Figure 8-143. Use the Vertical Type on a Path Tool when you want your text to flow vertically on the path